

“Tail switch. Three brightness levels. Mode memory.” Before approving a brief with those three lines, compare two possible samples. On one, a shallow press produces light and release switches it off. The other requires a click, then keeps running after the thumb lifts. Both have a tail button and three levels.
The difference belongs in the tactical flashlight switch design specification. There are other missing details: which level appears after an overnight shutdown, what a locked button does, and whether charging clears the lock. These are decisions a buyer can settle before sample approval, rather than discover after writing the retail instructions.
Below, the state table describes an example control brief; the second table gives suggested checks.
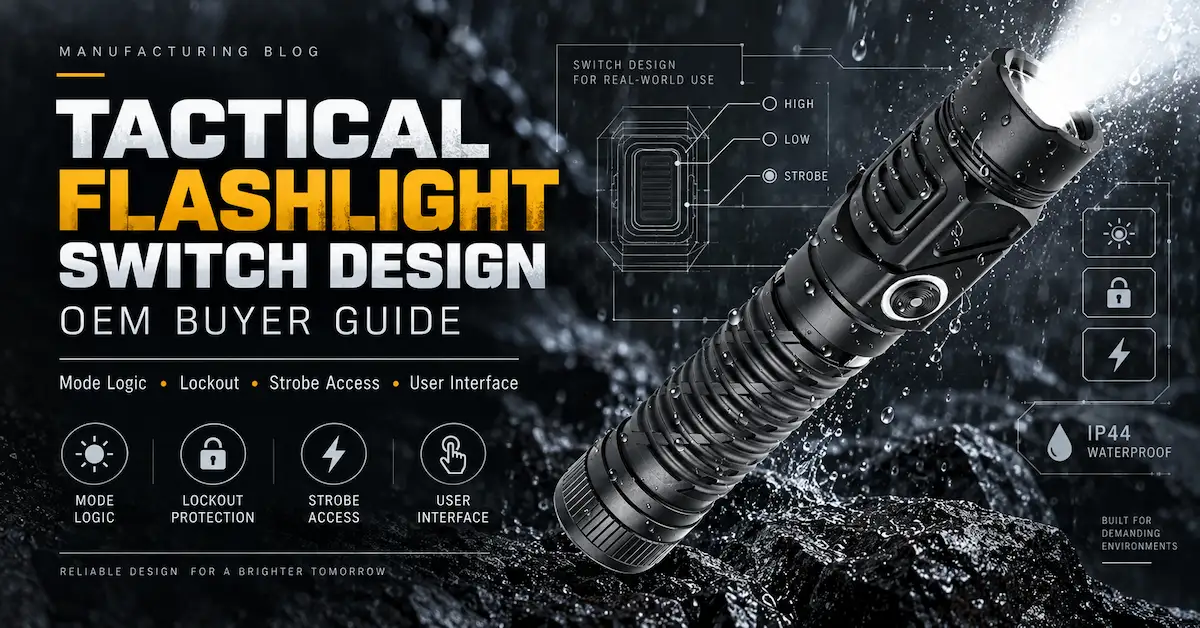
Tactical flashlight switch design starts with the first press
Picture two products using the same body. The first goes into a maintenance kit. Its owner spends several minutes looking inside a service panel and would welcome a steady medium level. The second is carried for brief outdoor checks, where the user wants light only while a button is held. The physical housing can look identical; the desired first press is different.
Within everyday carry, a low starting level suits close work; another buyer may want fixed high. On a shared light, the person opening a cabinet cannot assume the previous user left it at low.
“Carried in a tool pouch, used with service gloves, usually on for several minutes” is already a better design brief than “tactical controls.” The pouch and gloves can accompany the samples.
How momentary-on differs from a click that stays on
Separate a shallow press from a full click
For an off-to-momentary requirement, the sequence has three parts: start off, hold the assigned control, release it. Light is needed during the hold, followed by off. If it keeps running after release, the sample has latched. That may be useful constant-on behavior, but it does not satisfy this momentary sequence.
A two-stage tail control can provide both actions. The thumb first reaches the momentary point, then travels farther to a latching click. During review, the buyer can ask for the two positions to be demonstrated separately. With a thick glove, the distinction may feel less obvious; that is a handling question for the selected button, cover and guard.
This is one possible switch arrangement. Another mechanism may require a click before illumination starts. A hold on an electronic control could change brightness or enter a special mode. “Hold for light” is therefore incomplete unless the starting state and the release result are included.
The route back to off deserves its own line
Imagine the light running at medium. A press might turn it off, advance to high, or do nothing until release. If power and mode selection share a button, the supplier needs a way to distinguish those intentions. A separate mode control can make the distinction easier to explain, although it adds another button to find and protect.
A purchase specification might say: “From steady medium, one power click returns directly to off; the mode control selects brightness.” That gives a clearer acceptance point than “three modes, easy operation.” The exact action can change with the hardware, but the intended result should survive the change.
Labels such as forward-clicky, reverse-clicky and electronic help describe the switch. A demonstration of partial press, click and release is still needed for sample approval.
A state table turns the button sequence into an agreement
Writing tactical flashlight switch design as a state table reveals gaps that prose can hide. The following is an illustrative buyer brief for a light with a two-stage tail control and a separate mode control. It is not a specification for an existing Brightenlux SKU. Gestures and timing remain subject to the selected platform.
| Before the action | Input in this example | Intended result | Approval question |
|---|---|---|---|
| Off; unlocked | Light tail press, held then released | Light while held; off on release | Does release ever leave the light on? |
| Off; unlocked | Full tail click and release | Steady light at the approved startup level | Can the user feel the latching point? |
| Steady medium | Power click | Off | Is off available without cycling brightness? |
| Steady medium | Mode-button press | Next setting in the agreed order | Could routine selection enter strobe? |
| Off; unlocked | Assigned lock sequence | Locked, with specified feedback | Is the confirmation understandable? |
| Locked | Either normal control pressed | No working-mode illumination | What feedback, if any, remains available? |
| Locked | Assigned unlock sequence | Unlocked and off | Is a further action needed to start light? |
| Off after medium | Activation after the specified delay | Medium restored, or agreed fixed default | Does the actual memory policy match the brief? |
A dual-switch layout is only an example here. On a one-button light, the same desired states need different inputs. The supplier's answer should also settle when a timing interval begins: initial contact, release, or the preceding click. Without that detail, “double press” can remain open to interpretation.
Lockout and memory follow the light into storage
A guard reduces exposure; lockout changes operation
A button guard and a lockout solve related problems in different ways. The guard limits contact with surrounding objects. Lockout determines what happens if a control is pressed anyway. In a fitted carton, an insert touching the button could keep pressure on it throughout storage.
With electronic lockout, the driver may still be listening for an unlock command. A supported mechanical lockout instead makes a physical interruption. A tailcap-twist instruction needs confirmation on the actual build: the point where electrical contact breaks depends on its contact arrangement. The procedure should come from the manufacturer.
The easily missed cases are charging and battery changes. A light might preserve its locked state, clear it, or behave differently while connected to power. Those outcomes are configuration questions. A locked product may still draw current, so storage planning also needs the applicable off-state consumption figure.
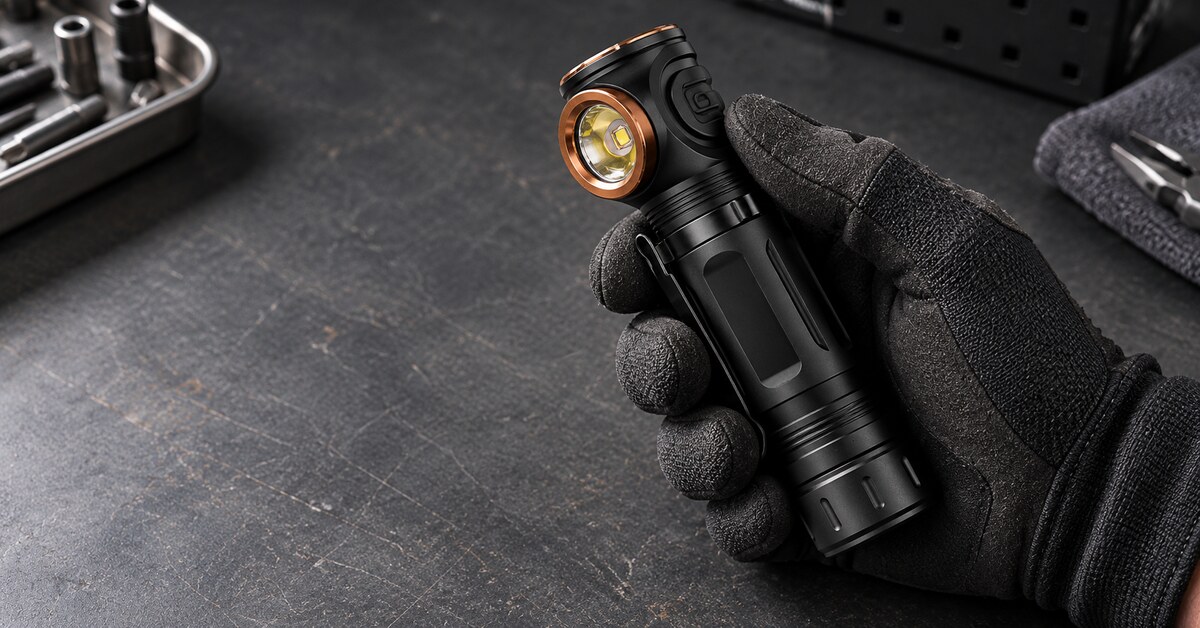
Memory needs an eligibility rule
Begin the memory check at low: select it, switch off, wait, then activate again. If low returns, repeat with strobe or temporary boost. A brief that permits memory only for steady levels would need a different restart result for those special modes.
A maintenance product could retain low and medium but exclude signaling modes. For a shared emergency kit, the proposed instruction might instead read “each activation starts at the fixed working level.” That removes the previous user's mode choice from the next person's startup.
Off duration belongs in the check. A setting used for a few seconds may not be stored in a design with delayed memory; a battery change may clear a stored value. The operation sheet should explain these rules. Selecting a remembered high mode still cannot promise the same lumen output with a depleted battery or a different temperature.
The physical switch and the published evidence
Changing a button cover can change the feel of a light without changing its mode program. A softer cover, a taller button or a deeper guard changes what the thumb meets. A gloved fingertip may sit across a guard instead of reaching the switch comfortably.
The drawing can identify the cover, switch and guard; the reference sample supplies the assembled feel. If force or travel becomes an acceptance requirement, it needs a measurement method and limits both parties can use. A switch component's cycle rating also needs careful treatment. The assembled button includes its cover and seal, whose behavior is not established by the component rating alone.
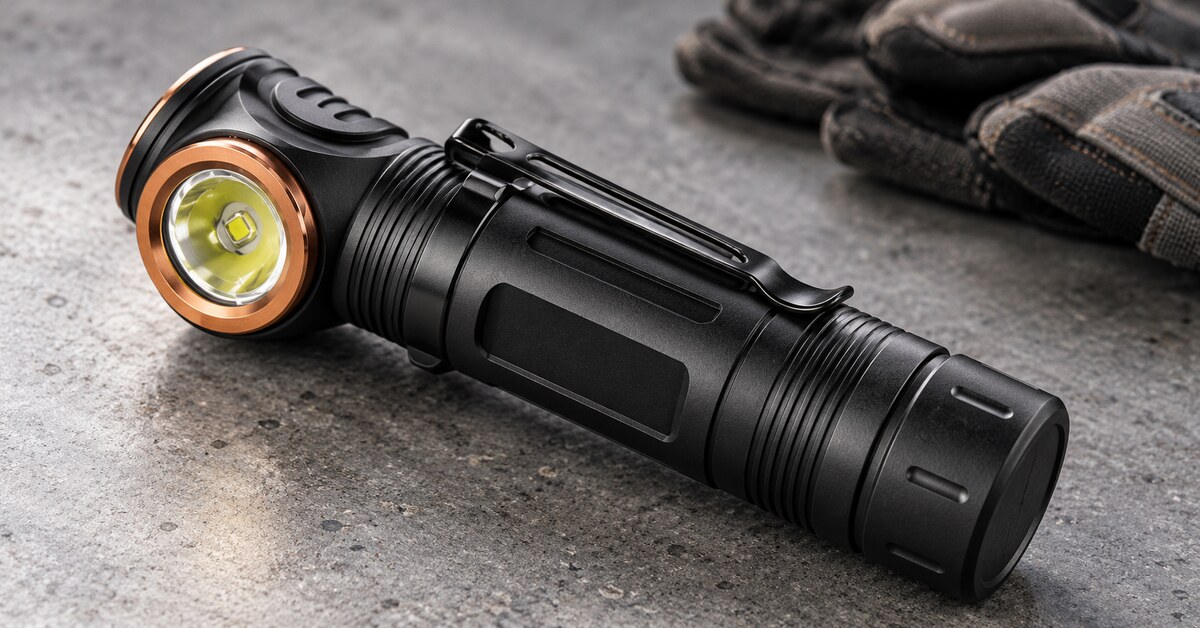
Brightenlux's published 1500-lumen SST40 flashlight with a 21700 battery lists high, medium and low, with double-press access to strobe. That is useful evidence of a mode set and one shortcut. The page leaves momentary action, lockout and memory unspecified. Those functions require the current operation sheet and a configuration-specific sample.
A sample review should include the awkward transitions
Normal mode cycling is only part of a control review. The more revealing questions sit at the edges: a press almost long enough to count as a hold, an unlock followed by release, or a restart after the battery has been changed. These checks can be planned without claiming that a sample has already passed them.
The table below is a proposed verification plan. A resulting report would identify hardware, firmware, cell and conditions. Before running it, both sides need the same test instructions, including repetitions and any measurement limits.
| Sample check | Proposed sequence | What the report would show |
|---|---|---|
| Momentary from off | Start off; press without latching; release | Light during contact and the release state |
| Constant-on at medium | Activate medium; lift the thumb; switch off | Whether medium persists, then stops directly |
| Short press or hold? | Bracket the duration specified in the operation sheet | Inputs accepted on each side of that boundary |
| Memory eligibility | Try low, high and a special mode before shutdown | Restart level for each choice and off interval |
| Battery changed | Remove a replaceable cell by the approved procedure | Memory and lock state after fitting the cell again |
| Dual controls while locked | Try each button and agreed non-unlock combinations | Any light, feedback or unintended unlocking |
| Button against the insert | Fit the light in its pack under agreed conditions | Contact points and any activation during storage |
| A gloved full click | Use the specified gloves to cross the latching point | Missed clicks, latching errors and handling notes |
| Charge connection changes | Compare the documented low-cell and charging states | Any change in startup, lockout or input response |
| Controls after durability work | Recheck the approved sequences after agreed tests | Before/after differences in feel and state changes |
A note that says “worked with gloves” cannot tell the next reviewer which pair to use. Name the gloves and task. The same applies to a storage-pressure result: its pouch or fixture belongs in the record. Neither observation covers every possible carrying arrangement.
Put tactical flashlight switch design in the OEM specification
The control brief is one part of the wider product decision. Brightenlux's EDC flashlight manufacturer guide covers platform, carry and sourcing choices that sit around it. For the interface itself, a compact attachment to the RFQ can contain the startup policy, state table, storage behavior and sample checks.
Costs and timing depend on what has to change. Reordering brightness levels may be possible within a driver's firmware; a different latching action may call for a different switch. A deeper guard could involve the housing. The supplier's proposal should identify which parts of the existing platform remain suitable and which need development.
It also helps explain the quotation. Unit pricing, development charges, samples, instructions, MOQ and lead time can then be compared against one agreed configuration.
At approval, the operation sheet, sample identity and packaging instructions should agree. Future firmware or switch substitutions need a change process. A replacement driver that resets startup to low, for example, would change the approved fixed-high interface even if the housing remained untouched.
FAQ: tactical flashlight switch design
1. Does a tail switch guarantee momentary-on?
Try the specified press from off. A sample that gives no light before its latching click does not provide pre-click momentary action just because the button sits at the tail.
2. Is every press-and-hold action momentary-on?
If brightness changes during the hold, or the light stays on after release, the sequence needs a more precise description. Start state, hold action and release result all belong in it.
3. Can one button provide momentary and constant-on?
A two-stage arrangement can do this through light pressure and a deeper latching click. Whether a selected model supports it needs confirmation.
4. Is a locked light electrically disconnected?
An electronic lockout may leave circuitry powered. A mechanical interruption depends on the design. Off-state current is a separate item to confirm.
5. Should strobe be stored in memory?
A routine work-light brief may exclude it. A different application may choose another policy; that choice should be visible in the approved sequence.
6. Will memory survive a battery change?
Only the selected design can answer that. Its storage and reset rules need checking with the approved battery-replacement procedure.
7. Are two switches easier to use?
They can separate power and brightness selection. The benefit depends on reach, glove use and whether either button is exposed during storage.
8. What does an IP rating say about the button?
It concerns enclosure protection under specified conditions. It does not, by itself, establish button life, actuation feel or the correct mode sequence.
9. Can an OEM buyer change the sequence?
Moving low ahead of high may be a firmware change. Adding pre-click momentary action may require another switch. The proposal needs to identify the actual development involved.
10. What belongs with an approved sample?
The operation sheet, agreed state table, configuration identity and relevant test records. Keeping them together makes the approval useful for production and reorders.
Conclusion
Tactical flashlight switch design is settled when the first press, release, off action and restart all have an agreed result. The approved sample and state table should tell the same story, including what happens inside the kit or carton between uses.
For an OEM or private-label brief, send Brightenlux your intended control sequence and carrying arrangement. A current operation sheet, configuration-specific proposal and approval sample give the project a concrete basis before production.